How to Create a Database
Create a new Windows Forms App (.NET Framework) project with the name Database Project 1 and save it on the desktop. Click on Project > Add New Item... from the menu as shown in the image below.
Select Service-based Database item from the Add New Item dialog box and type Employees.mdf in the Name: box as shown in the image below. Then click on Add button.
Now you can see the created database in the Solution Explorer as shown in the image below.
How to Create a Table in the Database
Right click on the database in the Solution Explorer and select Open item as shown in the image below.
The Server Explorer appears when the Open item is clicked as shown in the image below.
Right click on Tables item and select Add New Table item as shown in the image below.
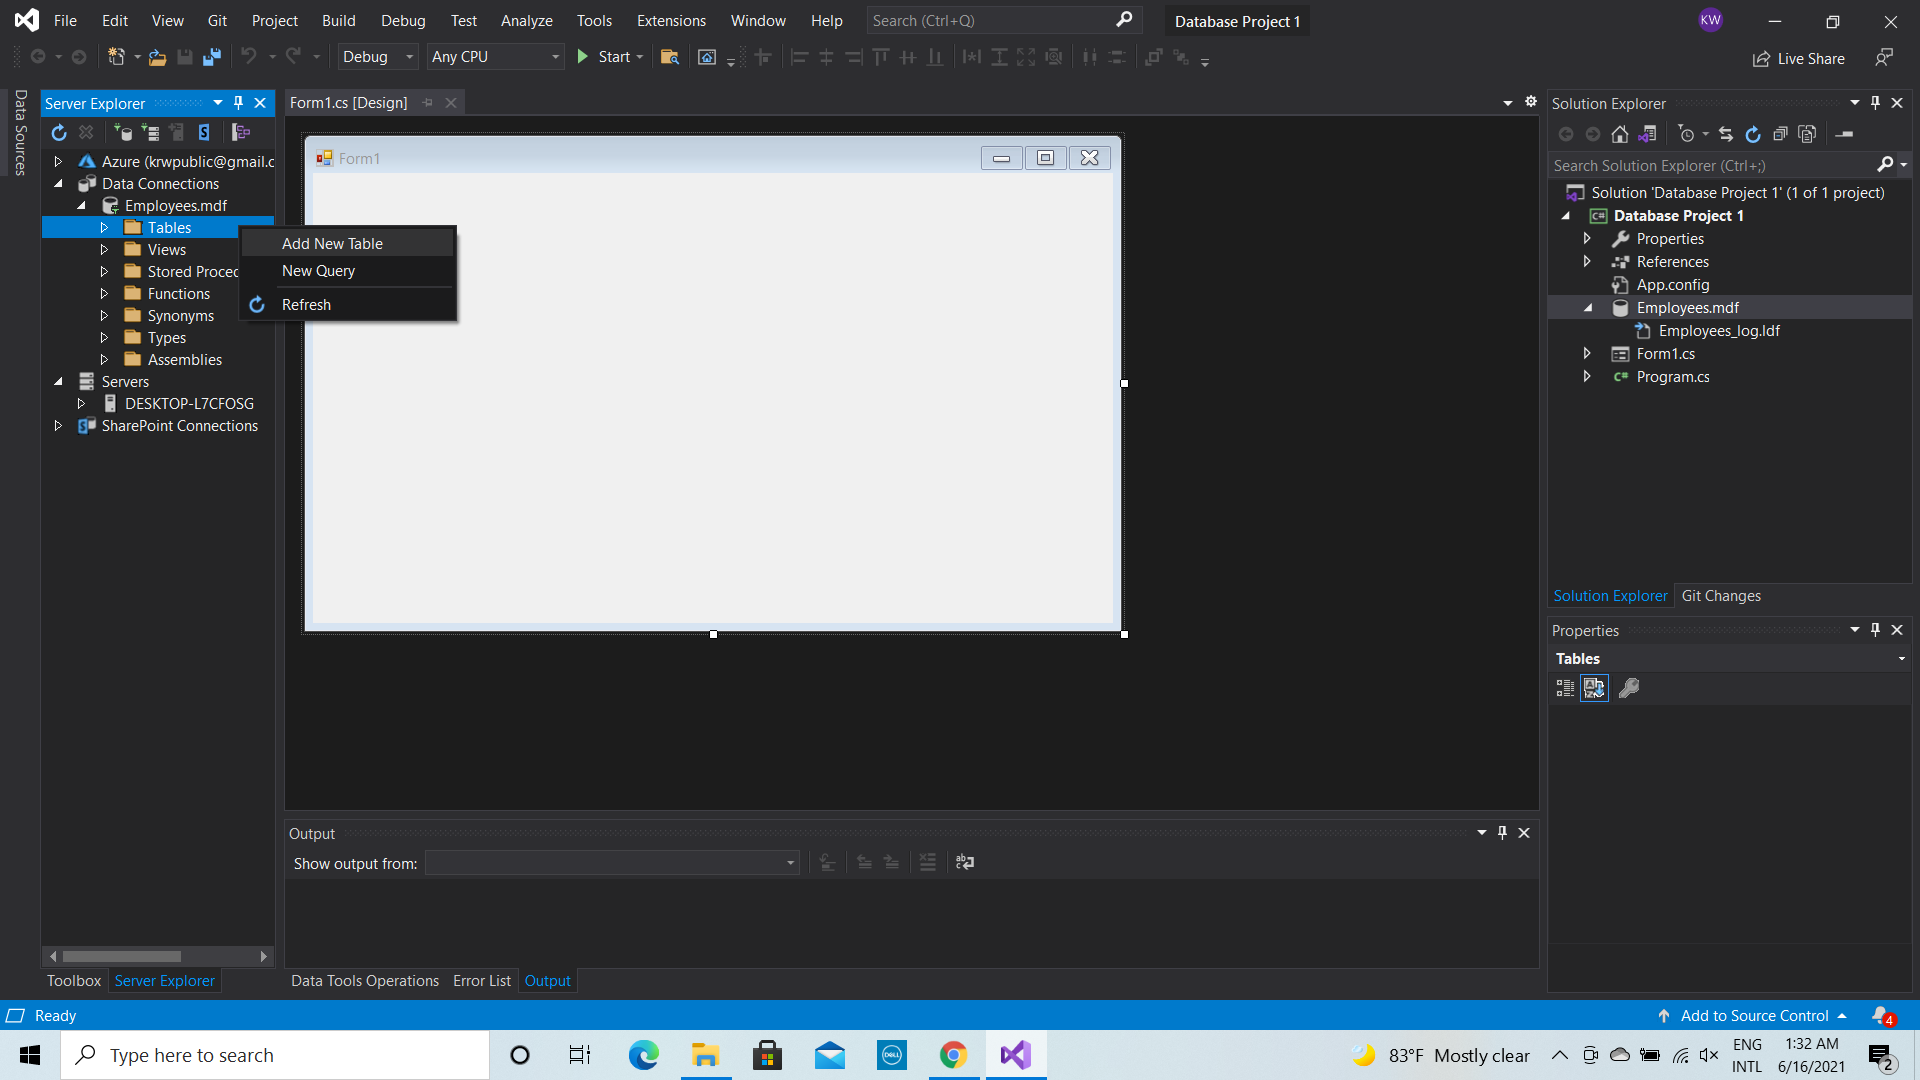 |
|
A tab with the name dbo.Table [Design] appears when Add New Table item is clicked as given in the image below.
Go to the code given below in the tab.
CREATE TABLE [dbo].[Table]
(
[Id] INT NOT NULL PRIMARY KEY
)
Replace the word Table by tblEmployees. Then click on the Update button and what you see is shown in the image below.
Click on Update Database button. Now look at the dbo.tblEmployees [Design] tab again. You can add columns to the table and note that Id column has already been set up. The key symbol indicates that the Id is the primary key. That means, it is not possible to add duplicate items to the Id column.
Select the Id column and look at the Properties. Then expand the Identity Specification item. Set (Is Identity) item to True and you can see Identity Increment and Identity Seed items are automatically set to 1. The value of Id for the first row of the tblEmployees table is 1 since Identity Seed is 1. The value of Id for each row is incremented by 1 since Identity Increment is 1. Use the Update button to update the database.
Add Name, Title, and Salary columns to the table as shown in the image below. Note that Data Type for each column should be set to nvarchar(50), nvarchar(50), and money respectively. Use the Update button to update the database.
How to Add Data to the Table
Go to the Server Explorer and expand Tables item. Then right click on the tblEmployees item and click on Show Table Data item as shown in the image below.
The dbo.tblEmployees [Data] tab can be seen when Show Table Data item is clicked as shown in the image below.
Fill the table with the data shown in the image below. Then click on the Refresh button available on the tab.
Now save your work and close the solution. Then go to the desktop and open the Database Project 1 folder. Next open the Database Project 1 folder inside that folder. Then you can see the Employees.mdf database file you have created.How to Add the Database to a Project
Create a new Windows Forms App (.NET Framework) project with the name Database Project 2 and save it on the desktop. Double click on the Properties item in the Solution Explorer and what you see is shown in the image below.
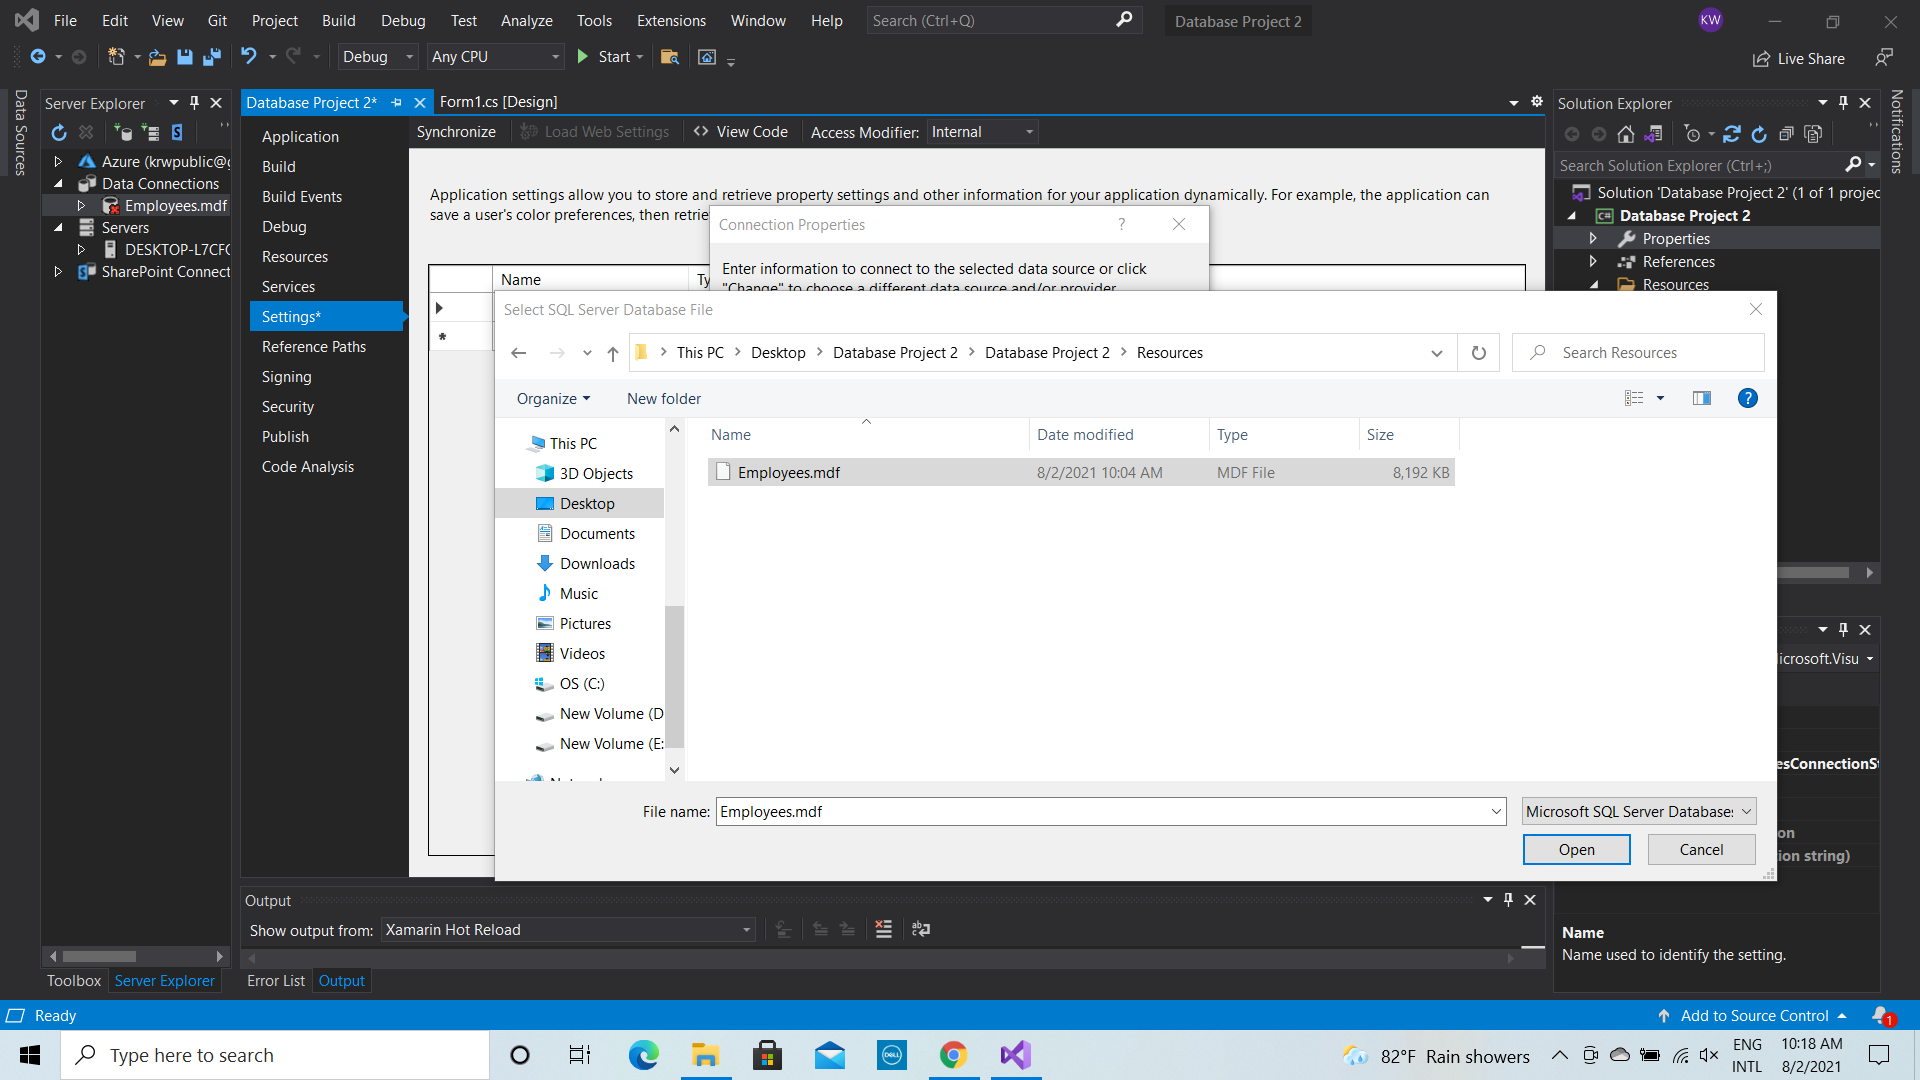
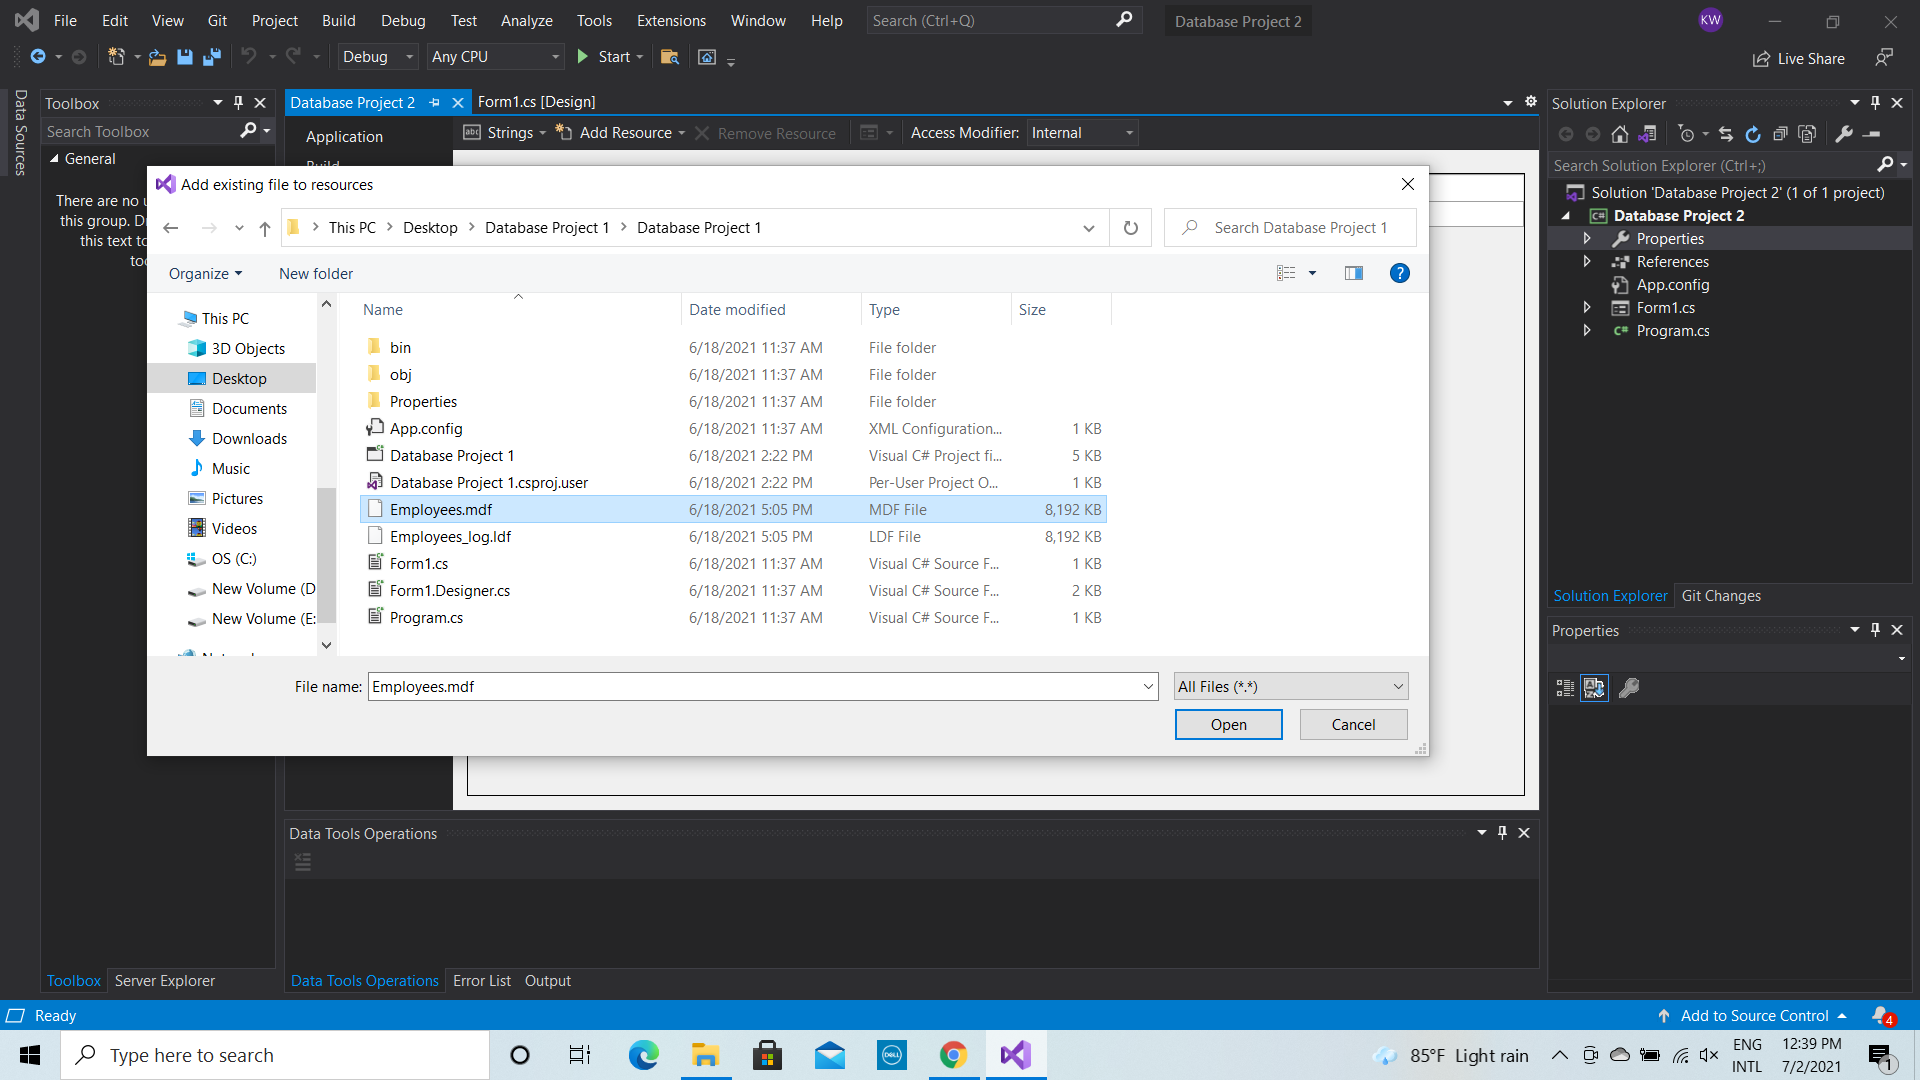
Select Resources item from the Database Project 2 tab and what you see is shown in the image below.Then click on the Add Resource item and select Add Existing File... item from the drop down list as shown in the image below.A standard Open File Dialog appears with the Add existing file to resources title when you click on the Add Existing File... item as shown in the image below. Navigate to select the Employees.mdf database file you had created in Database Project 1 project as shown in the image below. Then click on the Open button and you can see the added database file as shown in the image below. The added database file can be seen in the Solution Explorer as well.Now select Settings item from the Database Project 2 tab and what you see is given in the image below.Now fill the first row of the table from the data as given in the image below.Click into the cell of the first row that corresponds to the Value field. Click the button with three dots in that cell. Then you can see Connection Properties dialog box as given in the image below.Click the Change... button and you can see Change Data Source dialog box as shown in the image below.Select Microsoft SQL Server Database File from the Data source: list box and click the OK button. Now you are back to the Connection Properties dialog box. Click Browse... button and then you can see a standard File Open Dialog with Select SQL Server Database File title as given in the image below.Select the Employees.mdf file found in the path Desktop > Database Project 2 > Database Project 2 > Resources as given in the image below.
 |
|
Click the Open button and then you are back to the Connection Properties dialog box. Click Test Connection button and it should report success as given in the image below.Then click OK button to come back to the Connection Properties dialog box. Click the OK button and then you can see what is given in the image below.
Add the second row to the table as given in the image below.
Now save your work and close the Database Project 2 tab.How to Create a Database Connection Class
Click on Project > Add Class... from the menu as shown in the image below.
The Add New Item dialog box can be seen when you click on Add Class... item as shown in the image below. Type DatabaseConnection.cs in the Name: box and then click the Add button.What you can see is given in the image below when the Add button is clicked.Edit the DatabaseConnection class as given in the image below.
Save your work and close the DatabaseConnection.cs tab.How to Use the Database Connection Class
Go to the Form1.cs [Design] tab and edit the form as given in the image below. Change the Name property of each text box to txtId, txtName, txtTitle, and txtSalary.
Double click on the title bar of the form and what you see is given in the image below.Edit the code as given in the images below.Run the program and what you see is given in the image below.
The first record of the table is displayed. Stop the program and go to the Form1.cs [Design] tab.How to Move Forward Through the Records of the Table
Add a button to the form as given in the image below and name it as btnNext.
Program the btnNext button as given in the image below.Try the btnNext button and a sample is given in the image below.How to Move Backward Through the Records of the Table
Add another button to the form as given in the image below and name it as btnPrevious.Program the btnPrevious button as given in the image below.Try the btnPrevious button and a sample is given in the image below.To Be Continued...


Comments
Post a Comment