Getting Started with Visual Studio IDE
Visual Studio 2022 Preview
Go to the link given below and download Visual Studio Community.
https://visualstudio.microsoft.com/vs/preview/vs2022/#download-preview
How to Create a C# Console Application
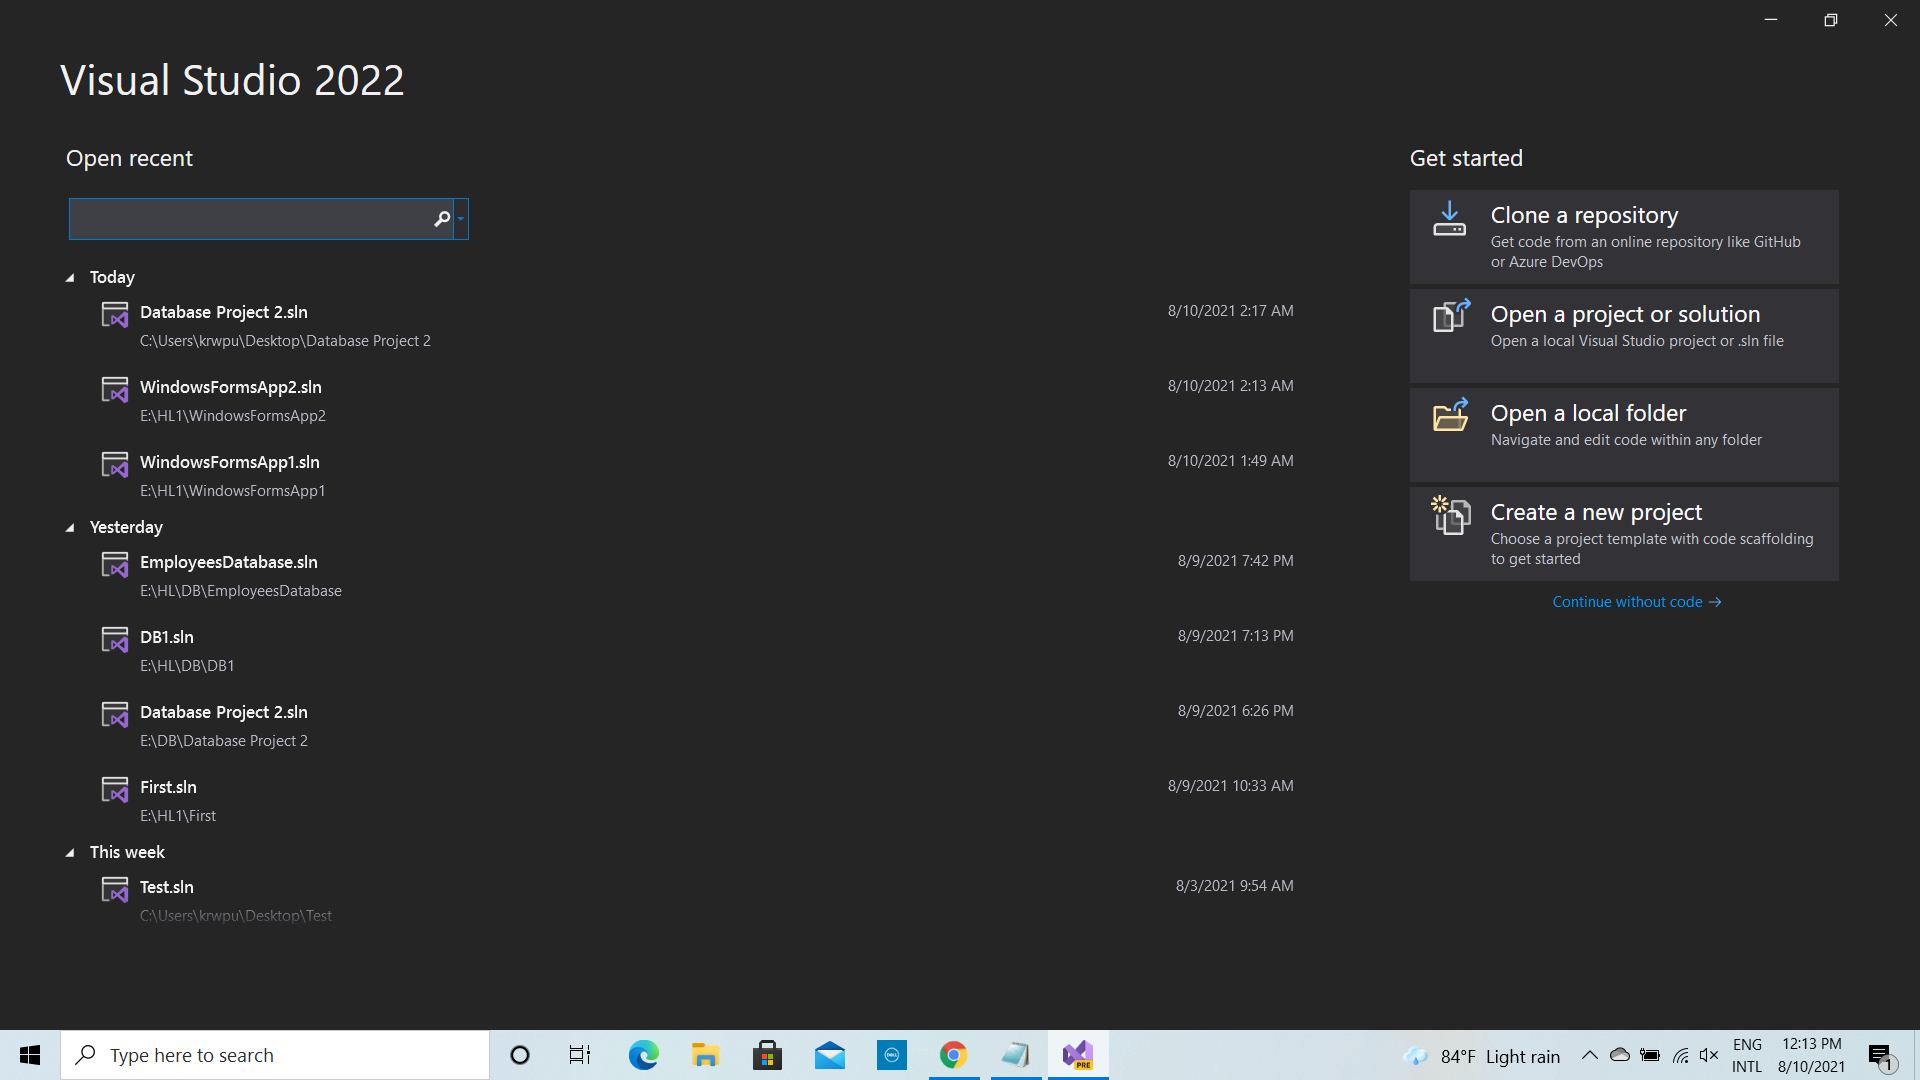
Run Visual Studio Community after successfully installing it to your computer. Then you can see a window as shown in the image below.
 |
 |
 |
 |
 |
{
Note that the lines of codes that are written within the braces are executed line by line when program runs.
Type the line of code given below within the braces.
Console.WriteLine("Kasun Ranga Wijeweera");
You can save your work by clicking File > Save All as shown in the image below.
 |
Then run your program by clicking Debug > Start Without Debugging as shown in the image below.
 |
 |
Run your program by clicking Debug > Start Debugging. You can observe that the console window appears but suddenly disappears. Add the line of code given below to the code as shown in the image below.
Console.ReadLine();
 |
Then the console window waits until a line of text is typed and enter button on the keyboard is pressed as shown in the image below.
 |
Now close the Visual Studio Community and open the folder where you saved the project (Note that I have to open the HL folder on the desktop). Then you can see the My First Project folder that contains the project you created. Open the folder and then you can find the My First Project.sln file and My First Project folder. The project can be opened by double clicking on the My First Project.sln file. A folder named bin can be found inside the My First Project folder. A folder named Debug can be found inside the bin folder. The application My First Project can be found inside the Debug folder. The application you developed can be opened by double clicking on the My First Project file. This is the executable file and you can copy and paste to a location you like.
How to Create a C# Forms Application
Run Visual Studio Community and click on Create a new project button. Then select Windows Forms App (.NET Framework) item as shown in the image below.
 |
 |
Type a suitable name for your project in Project name box. I have typed the name My Second Project. Select a suitable location to save your project from Location box. I have selected HL folder as the location. Now click on the Create button and what you see is shown in the image below.
 |
 |
 |
The button can be moved to a suitable location on the form by dragging and dropping. The size of the button can be changed using the small squares around the button. Note that now the button is selected since the small squares are around it. Therefore, the Properties window displays the properties related to the button. Change the Name property of the button to btnDisplayName and Text property of the button to Display Name from the Properties window. Then adjust the location and the size of the button as shown in the image below.
 |
 |
Now Properties window displays the properties related to the form. Change the Text property from the Properties window to My Name. Then the text can be seen on the title bar of the form. Double click on the button and what you see is shown in the image below.
 |
Now the cursor is blinking inside the braces of the method given below.
private void btnDisplayName_Click(object sender, EventArgs e)
Whatever the code you write inside the braces will be executed when the button is clicked.
Therefore, insert the line of code given below inside the braces.
MessageBox.Show("Kasun Ranga Wijeweera");
The purpose of the line of code above is to display the text Kasun Ranga Wijeweera in a message box.
Run your program and click the Display Name button. What you see is shown in the image below.
 |
THE END
Nice
ReplyDelete